Setting up the Appliance
Set up your OLO Raspberry Pi appliance or run the Docker container on your own hardware.
The instructions below cover setting up your pre-provisioned Raspberry Pi from OLO, or running the OLO Docker container on your own hardware.
Setting up the Appliance (Raspberry Pi)
If you have a pre-provisioned Raspberry Pi from OLO, follow these steps.
Connecting your Pi
-
Power on your Pi by plugging it into a power source.
-
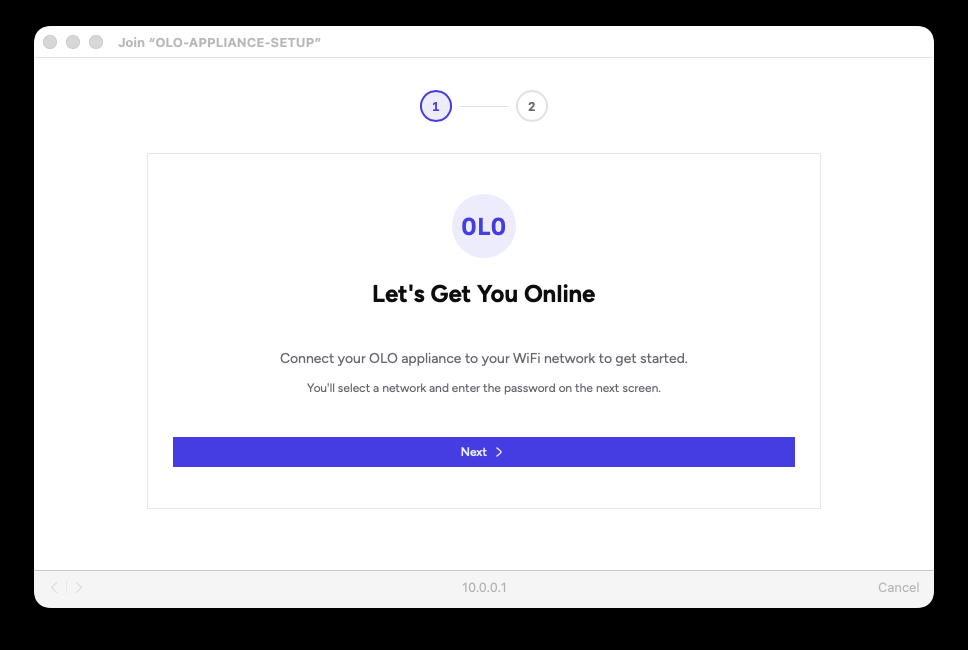
Once powered on, the Pi will broadcast a network called OLO-APPLIANCE-SETUP. Join that network on your computer.
-
Once connected, a captive portal should appear (similar to joining a public Wi‑Fi hotspot). Click Next.
-
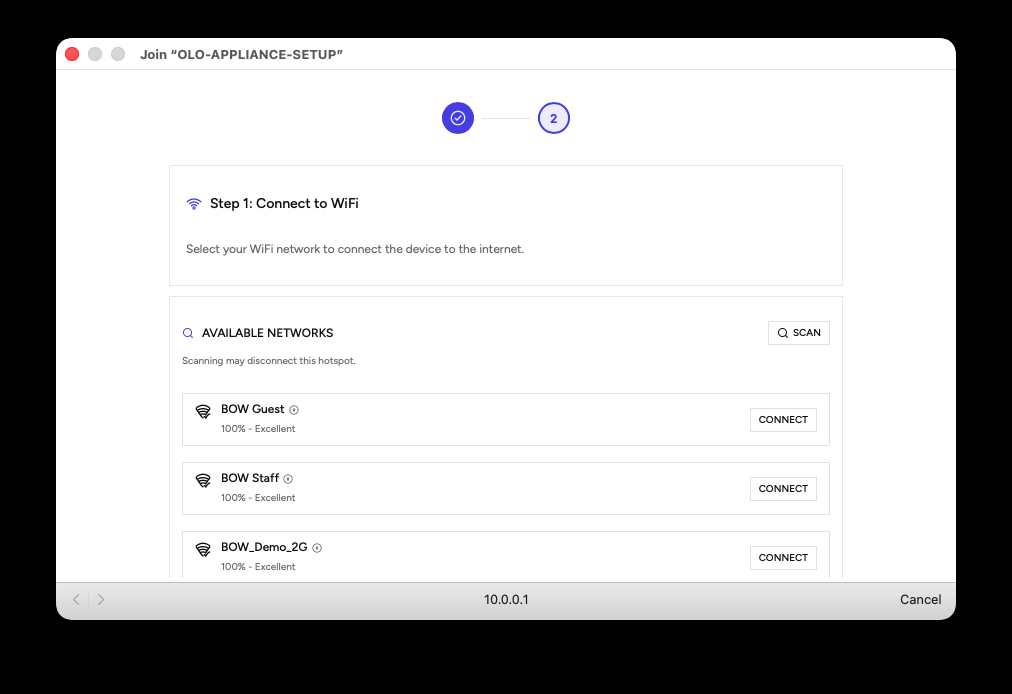
Connect the Pi to the same network your robot is on. Select the network from the list and select Connect.
-
Enter the network password when prompted.
- The Pi will join your chosen Wi‑Fi network and you will lose the direct connection. Copy the displayed URL to your clipboard.
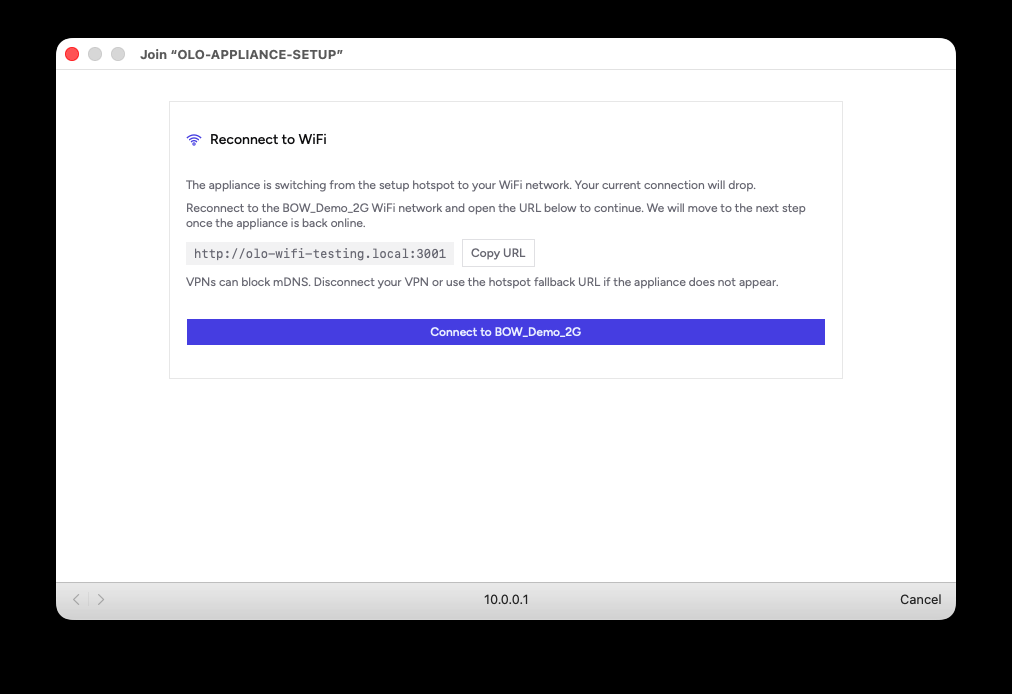
-
Once the Pi has connected to the network, paste the copied URL into your browser address bar.
-
Sign in using your OLO account credentials. This links the Pi to your account. If you don't have an OLO account, you can create one at olo-robotics.com.
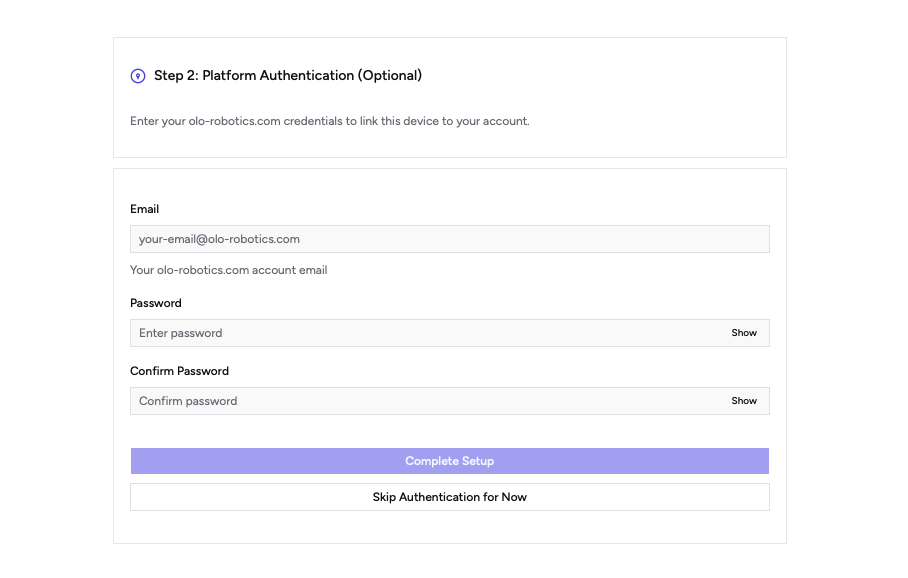
-
After successful authentication, you will see the admin screen. The Pi (now referred to as the OLO Appliance) will be visible in your OLO dashboard at app.olo-robotics.com.
The first time you connect, the appliance will update to the latest version of the OLO software. You may need to leave it for a few minutes for this to complete.
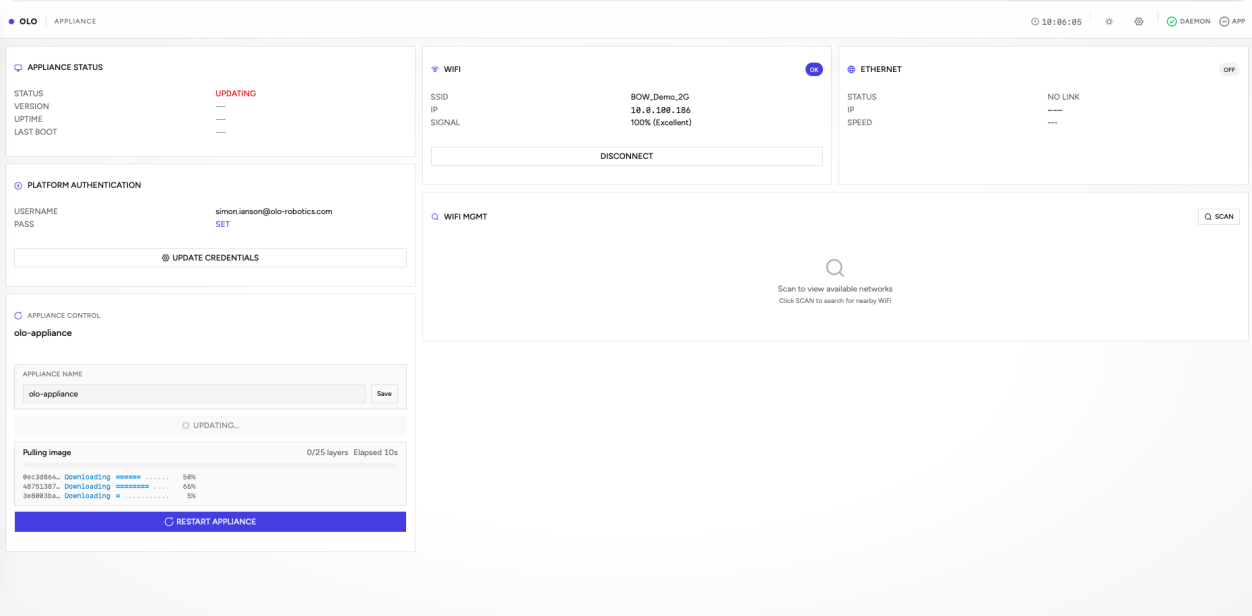
In the admin you can edit the name of your appliance — this is how it will appear in the OLO Dashboard.
Once your robot is powered on and on the same network, you will be able to control it from the OLO platform.
Installing the Docker container on your own hardware
If you want to run the OLO software on your own hardware, full instructions are on the OLO Docker Hub:
Docker Hub — olorobotics/olo-appliance
After installing the Docker container on your own hardware, complete these steps:
-
Power up your ROS2 robot and ensure it’s on the same network as the Appliance. You may need to follow manufacturer instructions to enable or run the ROS2 driver.
-
You may need to install additional robot-specific driver components (e.g. meshes) on the Appliance. You can do this via Maintenance → Terminal in the portal using bash command syntax.